Generate Images from Google Sheets and Upload to Drive

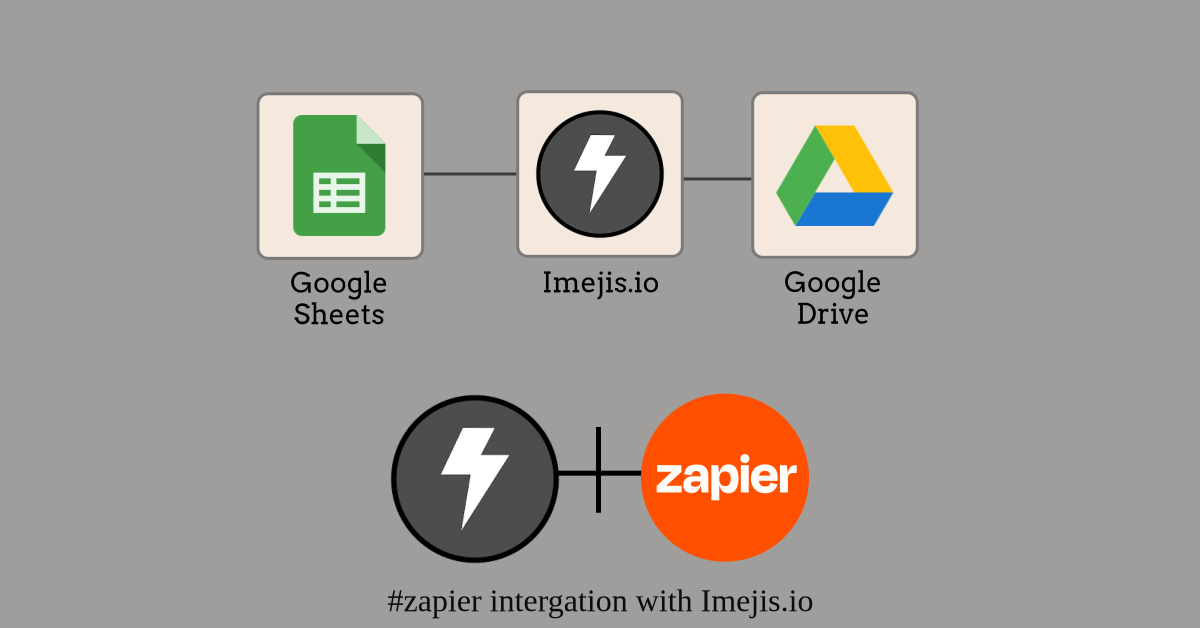
Are you tired of manually creating images from data in your Google Sheets? Say goodbye to time-consuming tasks! In this tutorial, we'll show you how to harness the power of Imejis.io and Zapier to automatically generate dynamic images from new or updated Google Sheets rows and save them to Google Drive. Get ready to simplify your workflow and impress your audience with visually stunning visuals!
What youll needWhat You'll Need
Before we dive in, make sure you have the following set up:
-
Imejis.io Account: Sign up for a free account on Imejis.io and explore its intuitive image generation tools.
-
Zapier Account: Create a Zapier account (if you don't have one already) to set up the automation between Google Sheets, Imejis.io, and Google Drive.
-
Google Sheets: Prepare your Google Sheets document with the data you want to turn into images. Make sure to have columns with relevant information for image customization.
-
Google Drive: Create a folder in Google Drive to store the generated images.
Two ways to integrate imejisio with zapierTwo ways to integrate Imejis.io with Zapier
-
Using the Zapier template
-
Do it manually
Option 1 zapier templateOption 1: Zapier template
Click on the button below to use the Zapier template. You will be asked to log in to your Zapier account and then you can start using the template.
Option 2 manuallyOption 2: Manually
Now that you have everything set up let's get started!
Step 1 set up the zapStep 1: Set Up the Zap
In Zapier, create a new Zap and choose "Google Sheets" as the trigger app. Select the trigger event based on your requirement, such as "New or Updated Row," and connect your Google Sheets account.
Step 2 set up imejisio actionStep 2: Set Up Imejis.io Action
Next, choose "Imejis.io" as the action app for your Zap. Select "Generate Image" as the action event, and connect your Imejis.io account.
Choose the template you want to use for image generation. You can also create a custom template using the Imejis.io template editor.
Fill the dynamic fields with data from Google Sheets to customize the image.
Step 3 save image to google driveStep 3: Save Image to Google Drive
Now, let's save the generated image to Google Drive. Choose "Google Drive" as the action app, select "Upload File," and connect your Google Drive account.
Specify the folder where you want to store the images in Google Drive. You can even customize the file name using data from Google Sheets to keep it organized.
Step 4 test and activate your zapStep 4: Test and Activate Your Zap
Run a test to ensure everything is working correctly. Zapier will perform the actions you set up and generate images from your Google Sheets data, saving them to Google Drive.
Step 5 automate and enjoyStep 5: Automate and Enjoy
Once your Zap is activated, it will continuously monitor your Google Sheets for new or updated rows. Each time new data is added or modified, Zapier will automatically generate the corresponding image using Imejis.io and save it to your specified folder in Google Drive.
Say hello to automated image generation and goodbye to manual tasks! With Imejis.io and Zapier's powerful integration, you can focus on creativity and productivity while leaving the image generation to automation.
ConclusionConclusion
Automating image generation from Google Sheets with Imejis.io and uploading them to Google Drive has never been easier. By streamlining this process, you save time, eliminate manual work, and create dynamic visuals that leave a lasting impression on your audience.
Ready to boost your productivity and create stunning images effortlessly? Set up your Zap today and unlock the magic of automation with Imejis.io and Zapier!
Unleash the power of automation: Generate dynamic images from Google Sheets and save them to Google Drive with Imejis.io and Zapier! Try it now and see the wonders it can do for your visuals.

